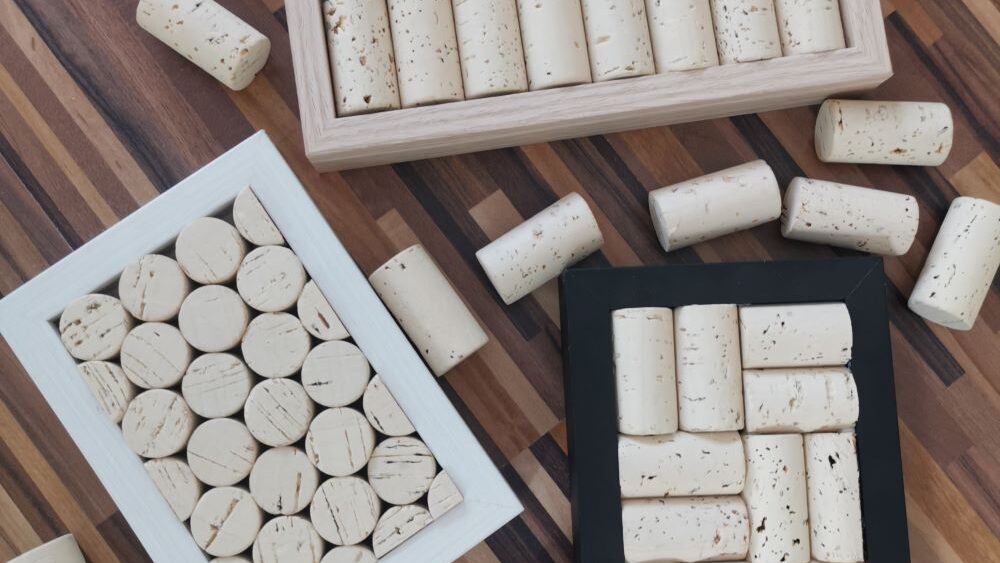
Maybe you are also one of those people who have bottle corks lying around in quantities at home because you don’t know what to do with them or always forget to take them to the collection box. The latter definitely sounds familiar, yet I used our Portuguese natural corks for the pinboards. These are very high quality, eco-friendly and give it a uniform look. With just a few more materials, you can craft your own custom pinboard from corks.
Preparation and materials
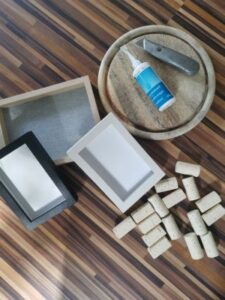
For our pinboard from corks you need a thin wooden board or a picture frame in the size and shape of your choice. Depending on the variant, the corks must be cut, for this you can use a knife, or a cutter knife and a solid base. Craft glue or wood glue is best for attaching the corks well to the backing. The corks can be glued on either whole frontally or lengthwise, or sliced. The number of corks needed differs depending on the variant you choose. For small pinboards, the test tube natural corks are also very suitable. If your base doesn’t have a way to hang it, you will still need one or two small hooks, depending on the size.
- a thin wooden board or picture frame, in the size and shape of your choice
- knife or cutter knife and firm base
- craft glue or wood glue
- corks, about 100 pieces
- hooks for hanging
- Pin board pins
Cutting and placing the corks
There are several ways you can place and arrange the corks on their backing. Either you tape them to a flat side so that the corks stick out from the wall. This can look especially nice in a wide frame and requires the least effort because you don’t have to cut the corks. The second variant is to glue the corks lengthwise, means lying down. Here, either all corks can be arranged in the same direction, or, for example, always two horizontally, then two vertically, then again two horizontally in several rows. Many patterns can be formed here. A third possibility would be to cut the corks in about 1 cm thick round slices and glue them in straight rows or staggered next to each other.
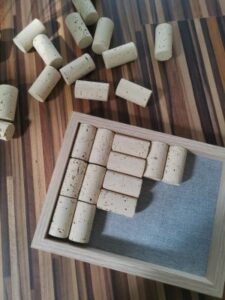
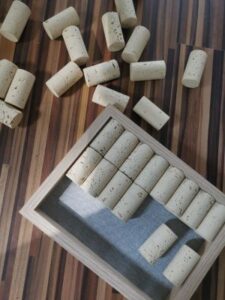
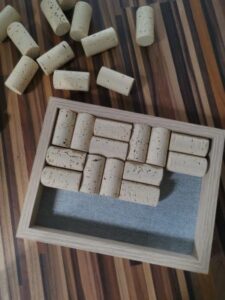
Once you have decided on a variant, start cutting the corks and arrange them in the frame. In the first variant, the corks are placed upright close to each other. If you have chosen the lying variant, you should cut off one long side so that you have a straight adhesive surface and then arrange them in the frame according to your ideas. For the disc variant you needed the least number of corks. The small round discs can be staggered in rows so that only the smallest possible gaps remain.
Glue Cork
Apply glue or adhesive to the glued surfaces and gradually assemble the corks into your desired pattern. For variations one and two, you can also apply glue to the long sides where the corks touch to provide a better hold. Continue until your entire base is covered with corks. You may need to cut corks to fit for the corners and edges.
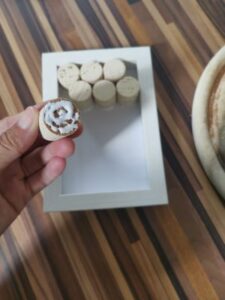
- Variation 1: Attach corks upright to one round side
- Coat one round side with glue or adhesive and glue corks tightly together
- Glue long sides additionally, for better hold
- Variation 2: Corks lying lengthwise, either in one direction or in different directions in rows
- Cut off one long side, for straight gluing surface
- Glue the sides additionally with the adjacent corks
- Variant 3: Cut corks into round slices
- Arrange in straight or staggered rows
- Allow glue or adhesive to dry well overnight
Finishing and presentation
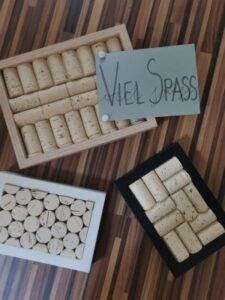
If your artwork is well dried the next day, you can still plug small gaps, or make improvements. If you used a base without hanging, you can now attach a hook or two to the top, depending on the size, so you can hang the pinboard on the wall. The frame can also be placed on a sideboard or shelf and leaned against the wall.
Things can now be attached to the cork surface using pins or pushpins. Next to the front door, for example, the pinboard is good for important notes, the current shopping list or addresses and phone numbers. In the living room, the wall can be filled with pictures, snapshots and memories. Your self-designed pinboard made of corks is not only functional, but also a beautiful decorative element.
Extra tip: Screw small screw hooks into the bottom of the frame. On it, for example, keys, jewelry or other things can be hung.
Here you will find another craft idea and 8 uses for test tubes in everyday life. Have fun crafting and enjoy your pinboard from corks!

